Last Updated: March 5, 2025
Welcome to Maptitude! Whether you have just downloaded the free trial of the software for the first time, or you are a longtime user who recently upgraded to the latest version, this article aims to get you started on the right foot with the Maptitude software.
NOTE: this article deals with using the software itself once you have successfully installed and activated. If you are having issues with download or installation, please take a look at our Download/Installation/Activation Help pages.
First Things First
The main tutorials page for the Maptitude software can be found here. We recommend people starting off with the Maptitude Basics video, which introduces the main interface and discusses some of the terminology that will be used throughout the videos and the other articles on this site.
Other important videos that deal with how to use the software in general, instead of focusing on a specific use case are:
Other Resources
This article will deal mostly with the Self-Help options for getting started with Maptitude. In addition to these, you can find additional help by:
- Register for a Maptitude Webinar or watch a video of a previous webinar.
- Sign up for a Maptitude classroom training session, private training session, or web-based training session
A Broad Overview with a Hands-On Approach
For some users there is nothing better than getting a hands-on look at the software as a way to learn what it has to offer. Included with your Maptitude installation is:
- A Tutorial Folder filled with a variety of supplemental files
- A Help Guide containing a Tutorial Chapter with step-by-step instructions for using all of the main tools in the software
If you want to try this out:
- Open the Maptitude software and go to Help>Maptitude Help
- In the Table of Contents on the left, choose Tutorial.
- Work through the parts of the tutorial you feel are useful.
Tutorial Videos
The tutorials page linked above is great if you know exactly what tool you are looking for, but the terminology can be a little daunting the first time you open the software and you don’t know exactly what you are looking to do.
This next section hopes to alleviate some of that confusion by showcasing some of the types of maps you can create in Maptitude, and linking to the tutorial you will need. Most of these tools can be used in conjunction with others so if you want to do multiple types of the mapping discussed you can follow the steps in one and then follow on with the steps from another video.
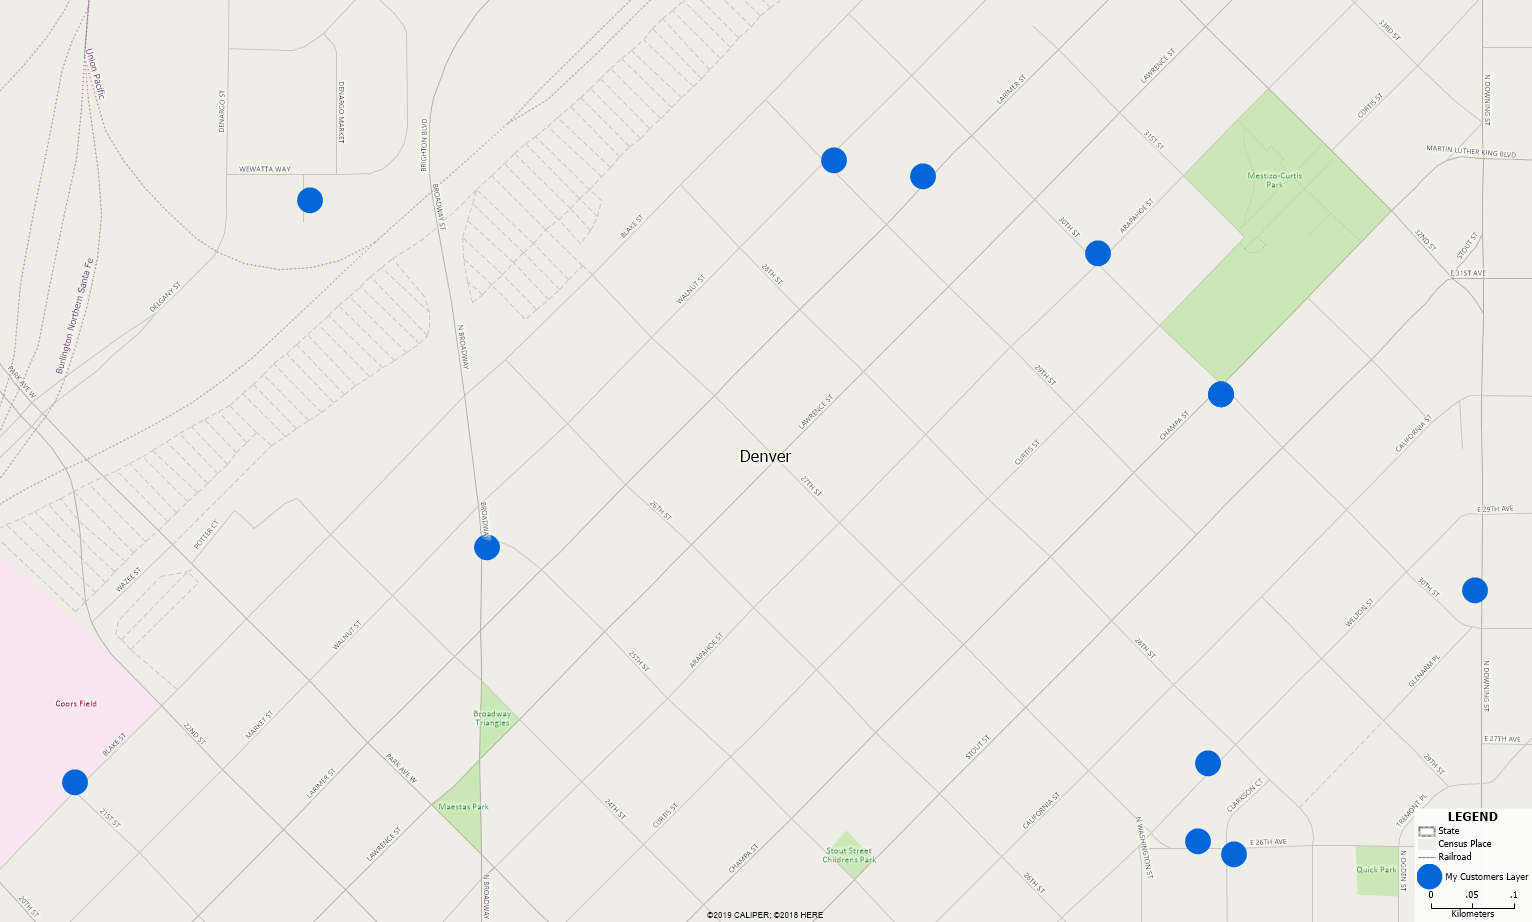
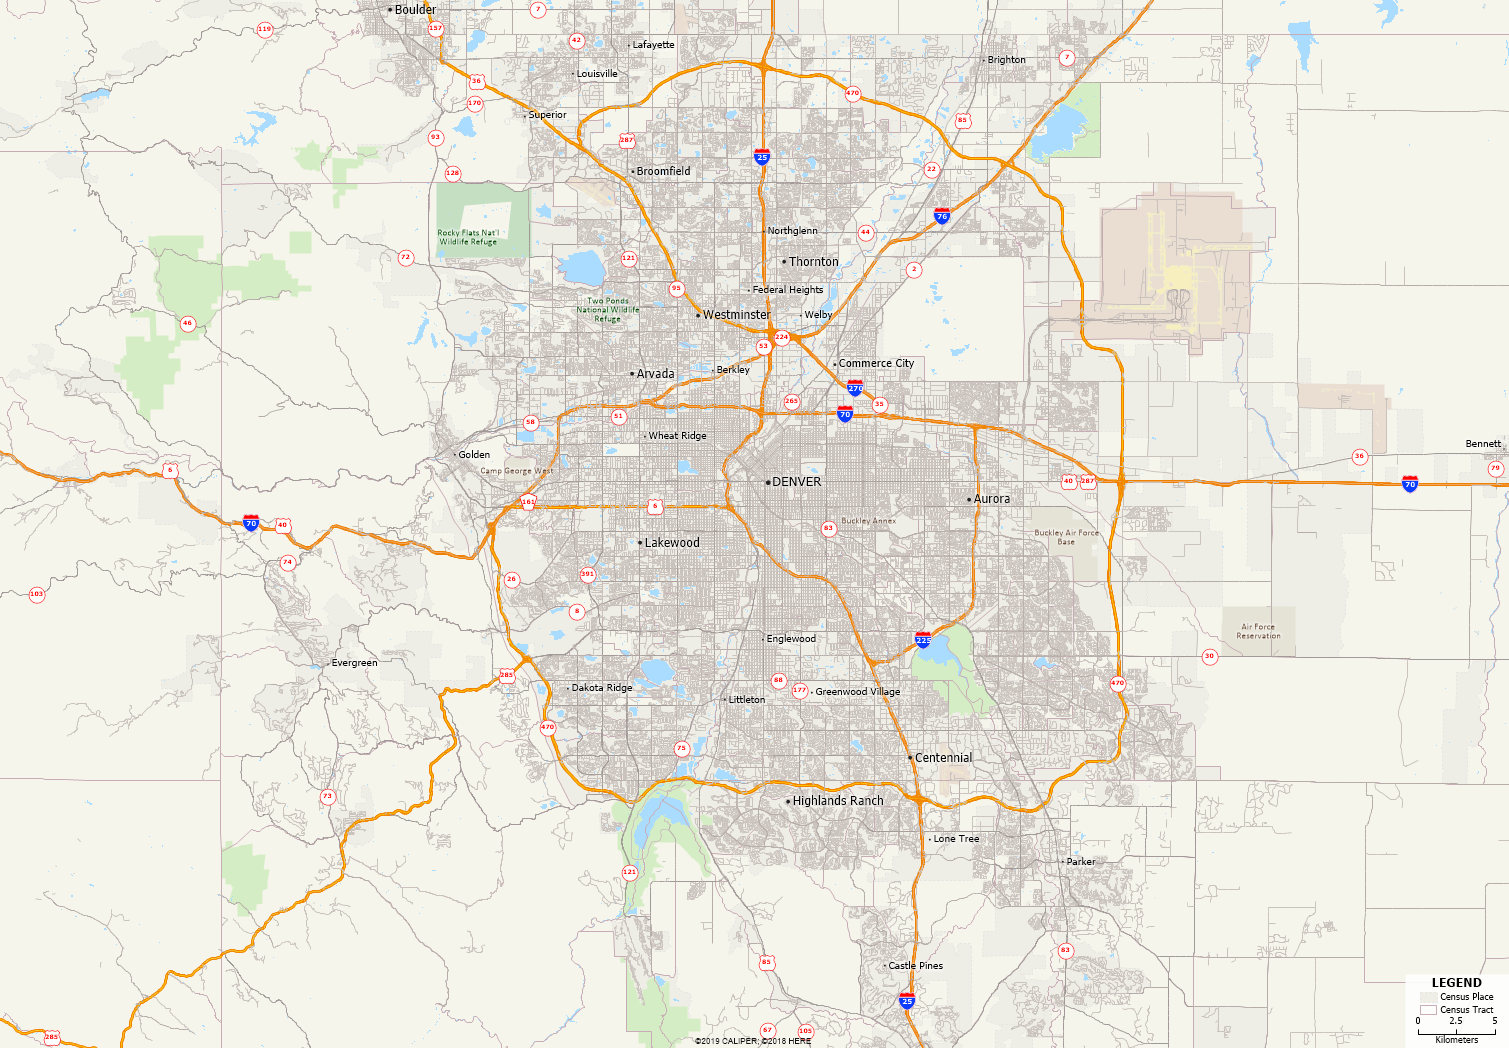
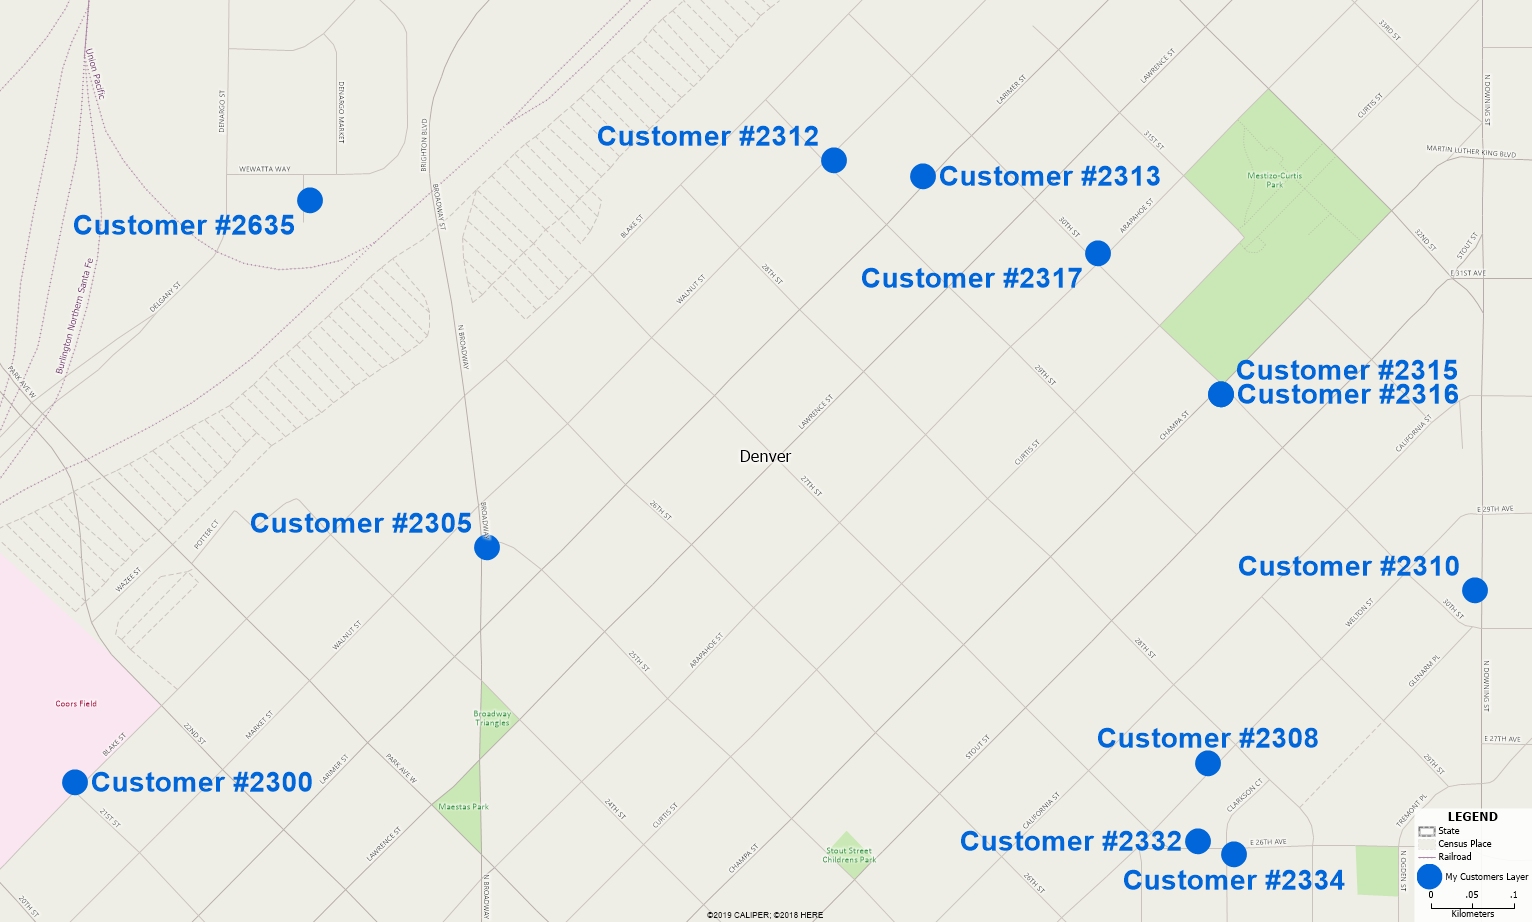
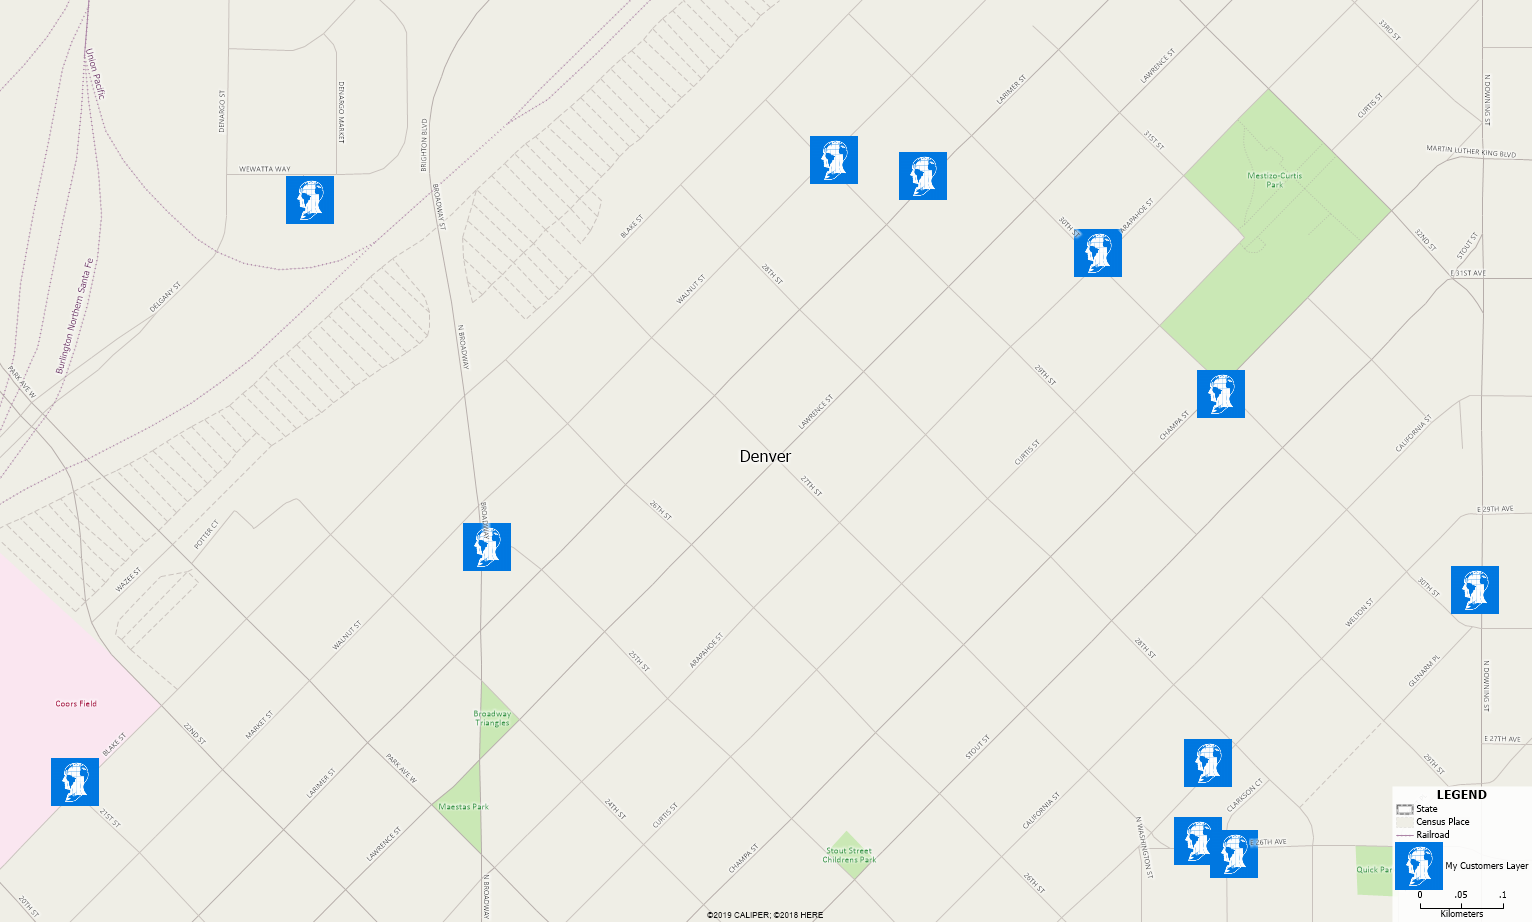
If you want to create a map like the one in the image, click on the title above that image to go to the tutorial for that map.
| Pushpin Map | Join your Data to a Map | |
 |
 |
|
| “Show me where my customers are located.” “I want to map out all my office locations.” | “What are my sales by ZIP Code?” “I want to see a heat map of my data by County.” | |
| General Purpose Map | Custom Labels | |
 |
 |
|
| “I don’t have any data. I just want to see a blank map of my local area.” | “How can I display data for my points?” | |
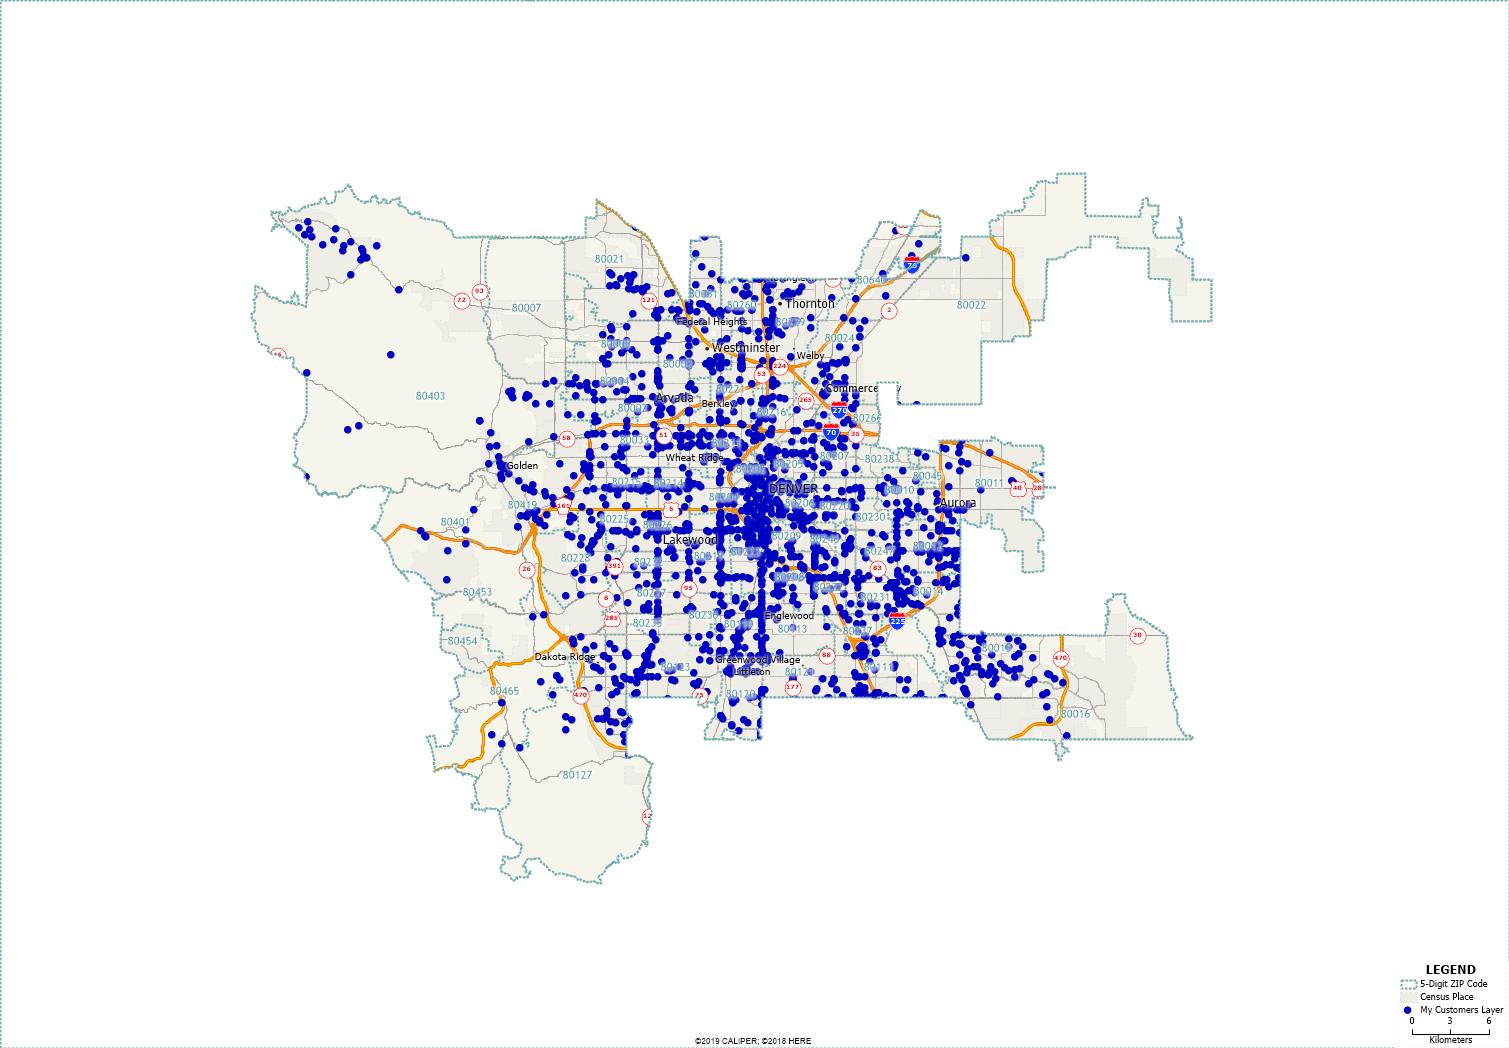
| Custom Styles | Masks | |
 |
 |
|
| “I want to change the icons for my points.” “How can I change the border of my ZIP Codes?” “Can I use my own logo in the map?” | “I only want to see the area I am interested in.” | |
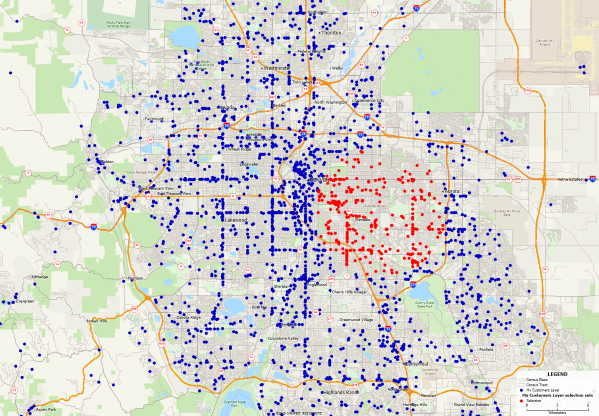
| Selection Sets/Filters | Customizing the Legend | |
 |
 |
|
| “How can I see only my customers with more than 5 Sales?” “How can I highlight the States where I do business?” | “How can I control what is in my Legend?” | |
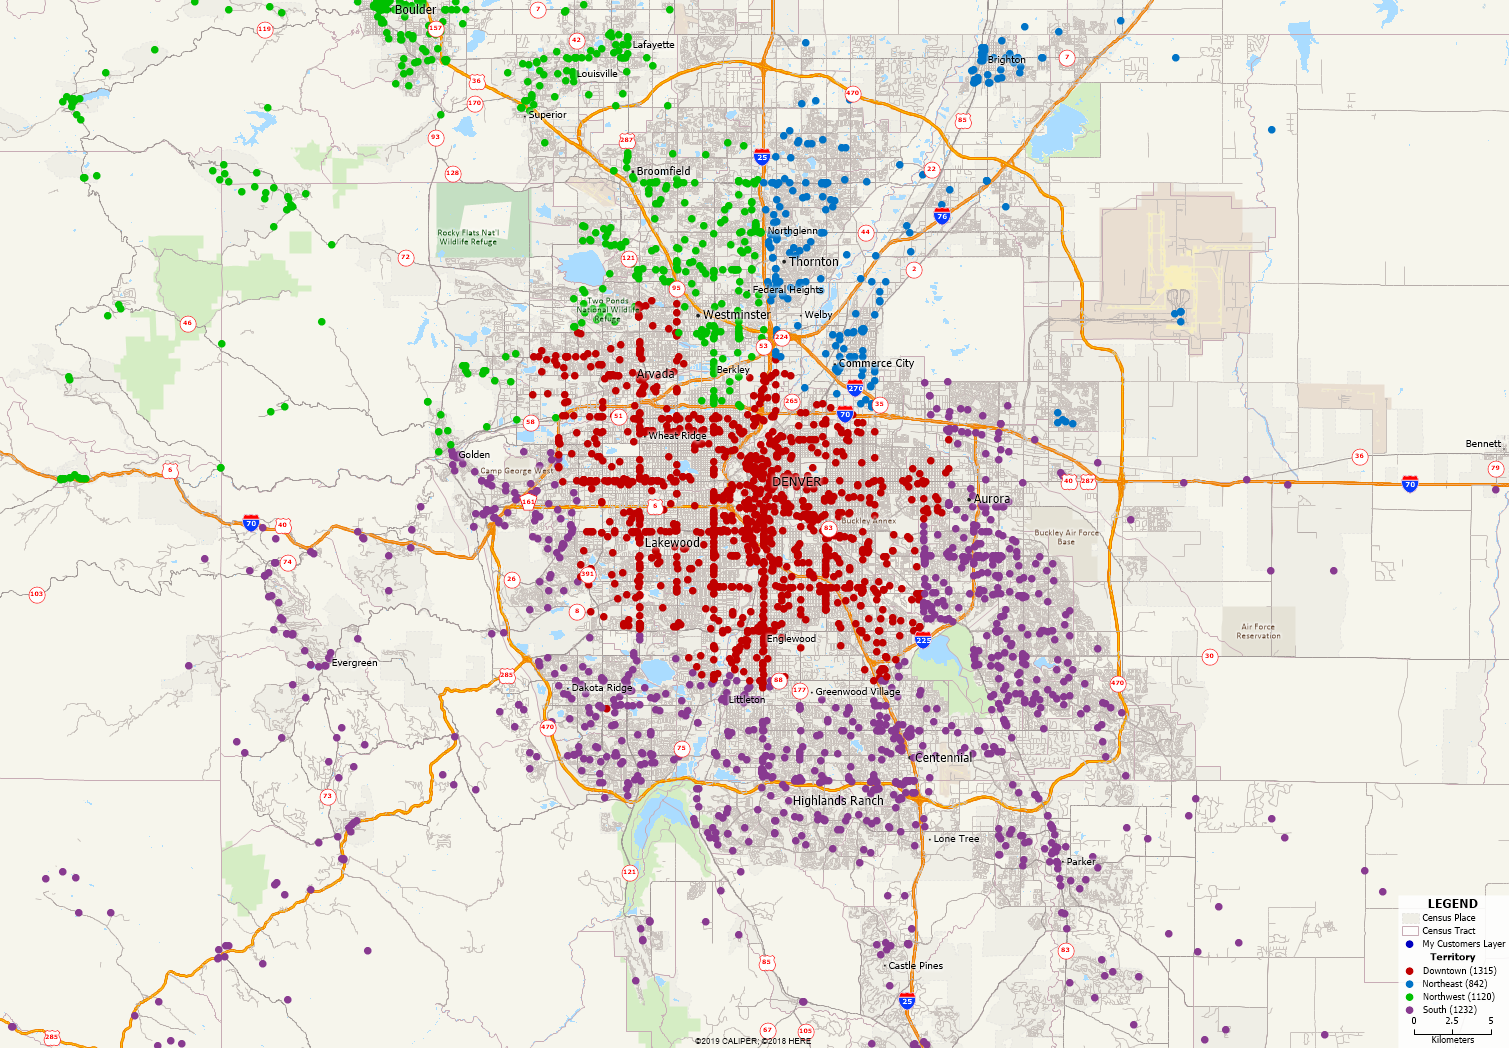
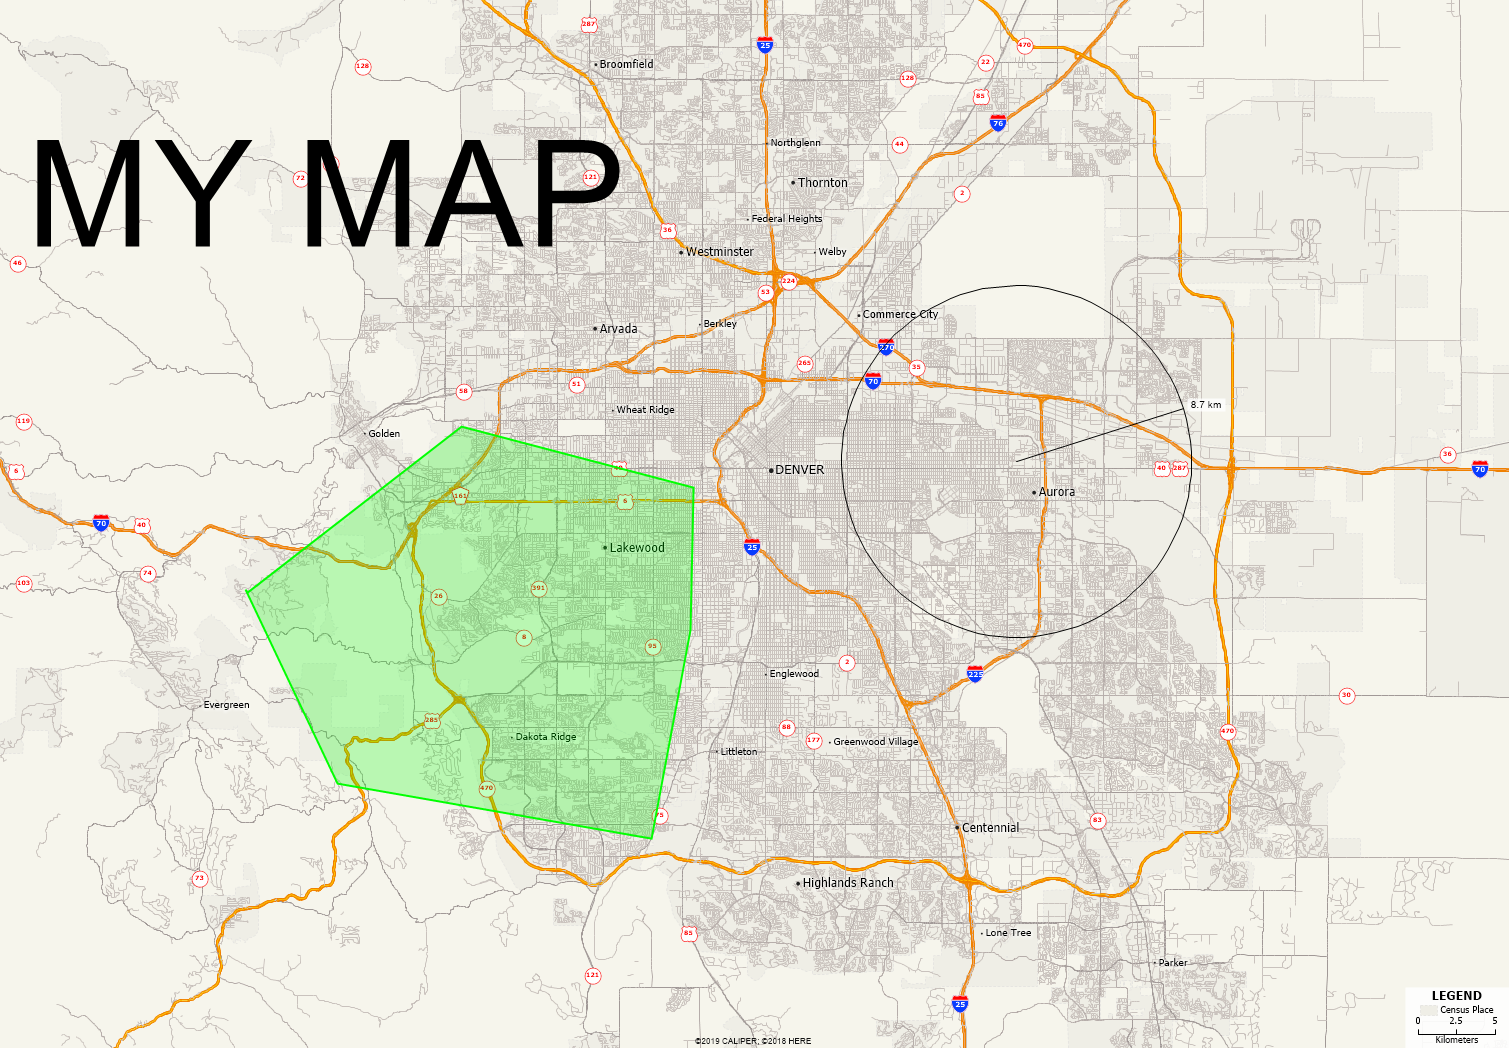
| Thematic Mapping | Drawing | |
 |
 |
|
| “I want to Color the customers for each store differently.” “I want the size of my customer icon to represent the total sales for that customer”. | “I want to draw a custom polygon on top of my map.” “How can I add text to my map?” | |
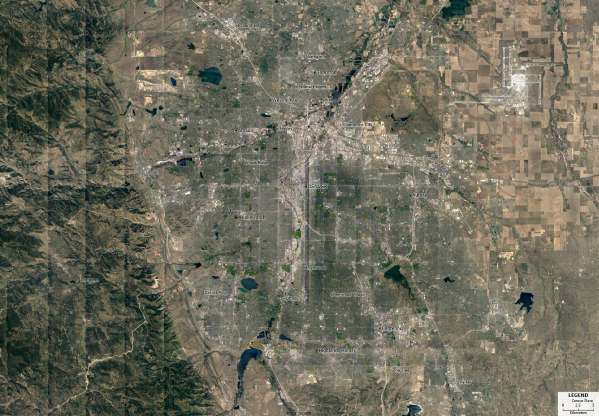
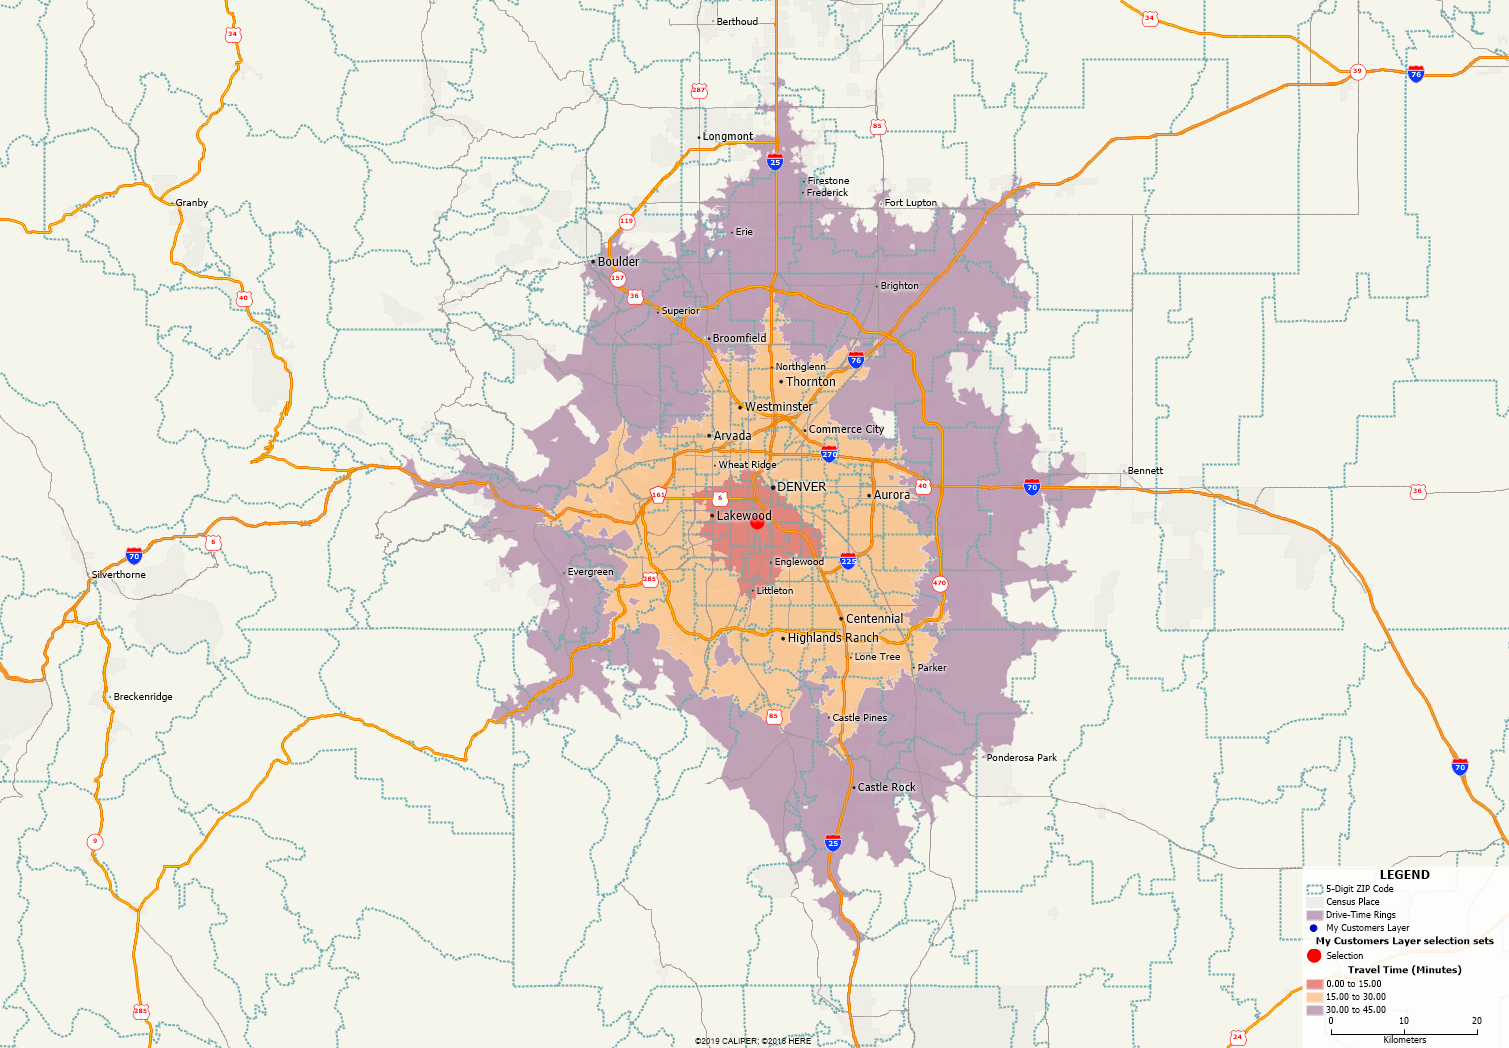
| Background Imagery | Drive Time Rings | |
 |
 |
|
| “How can I change the background of my map?” | “Where can I reach within 1 hour of my office?” | |
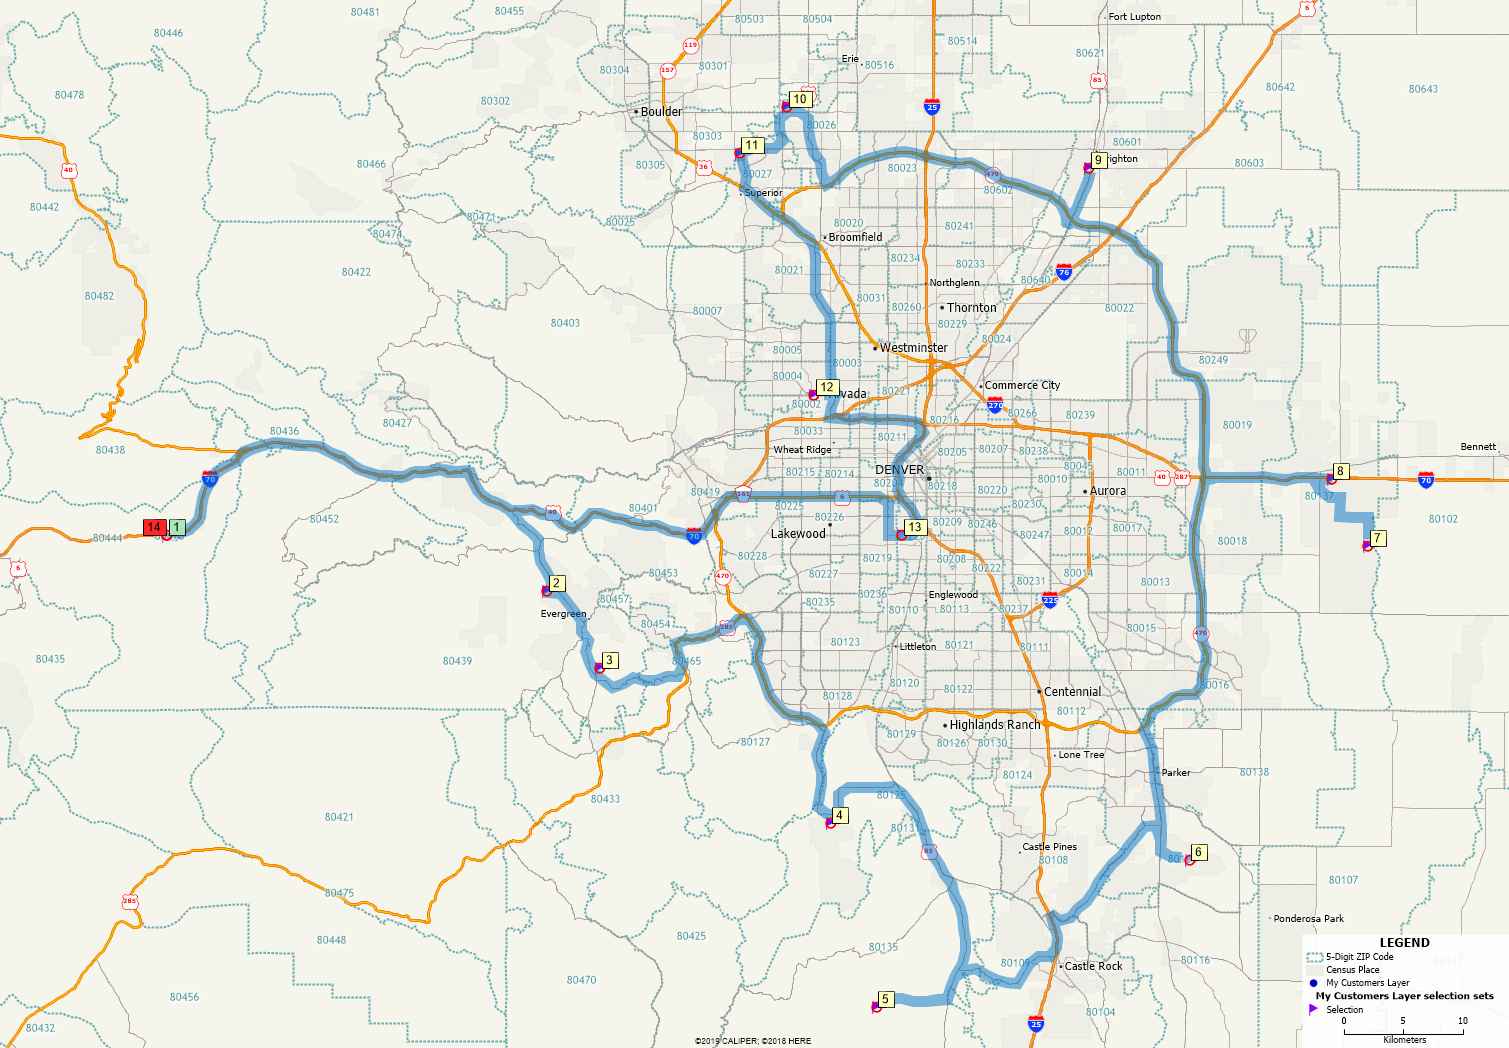
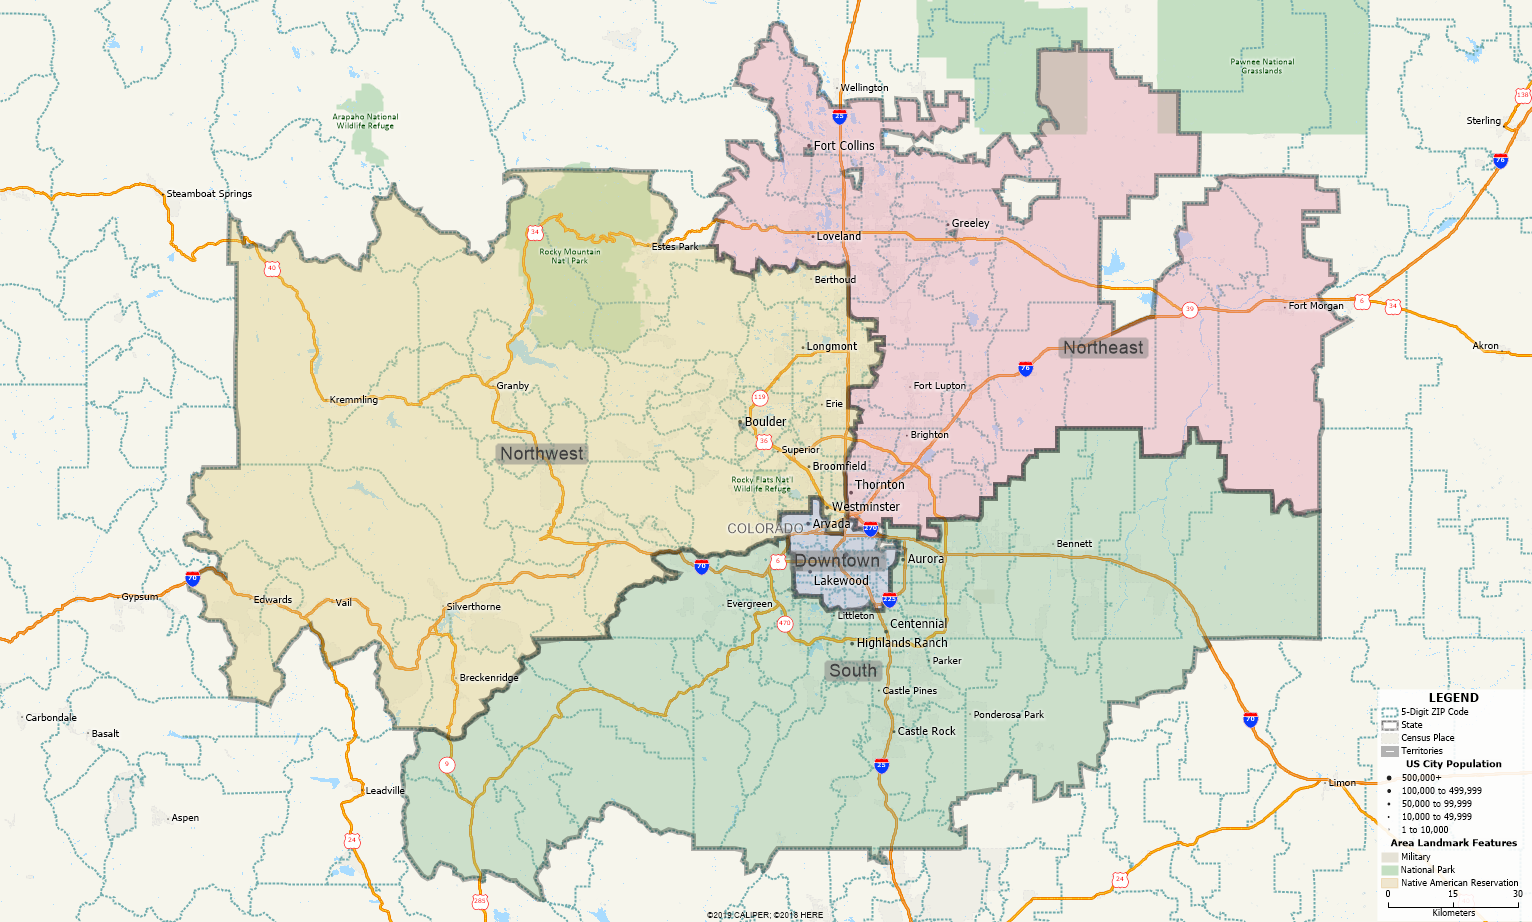
| Routing | Territories | |
 |
 |
|
| “What is the best route to visit my customers?” | “How can I map out my franchise territories?” “I need to show where my service people can operate.” “What are the Sales Areas for individuals?” | |
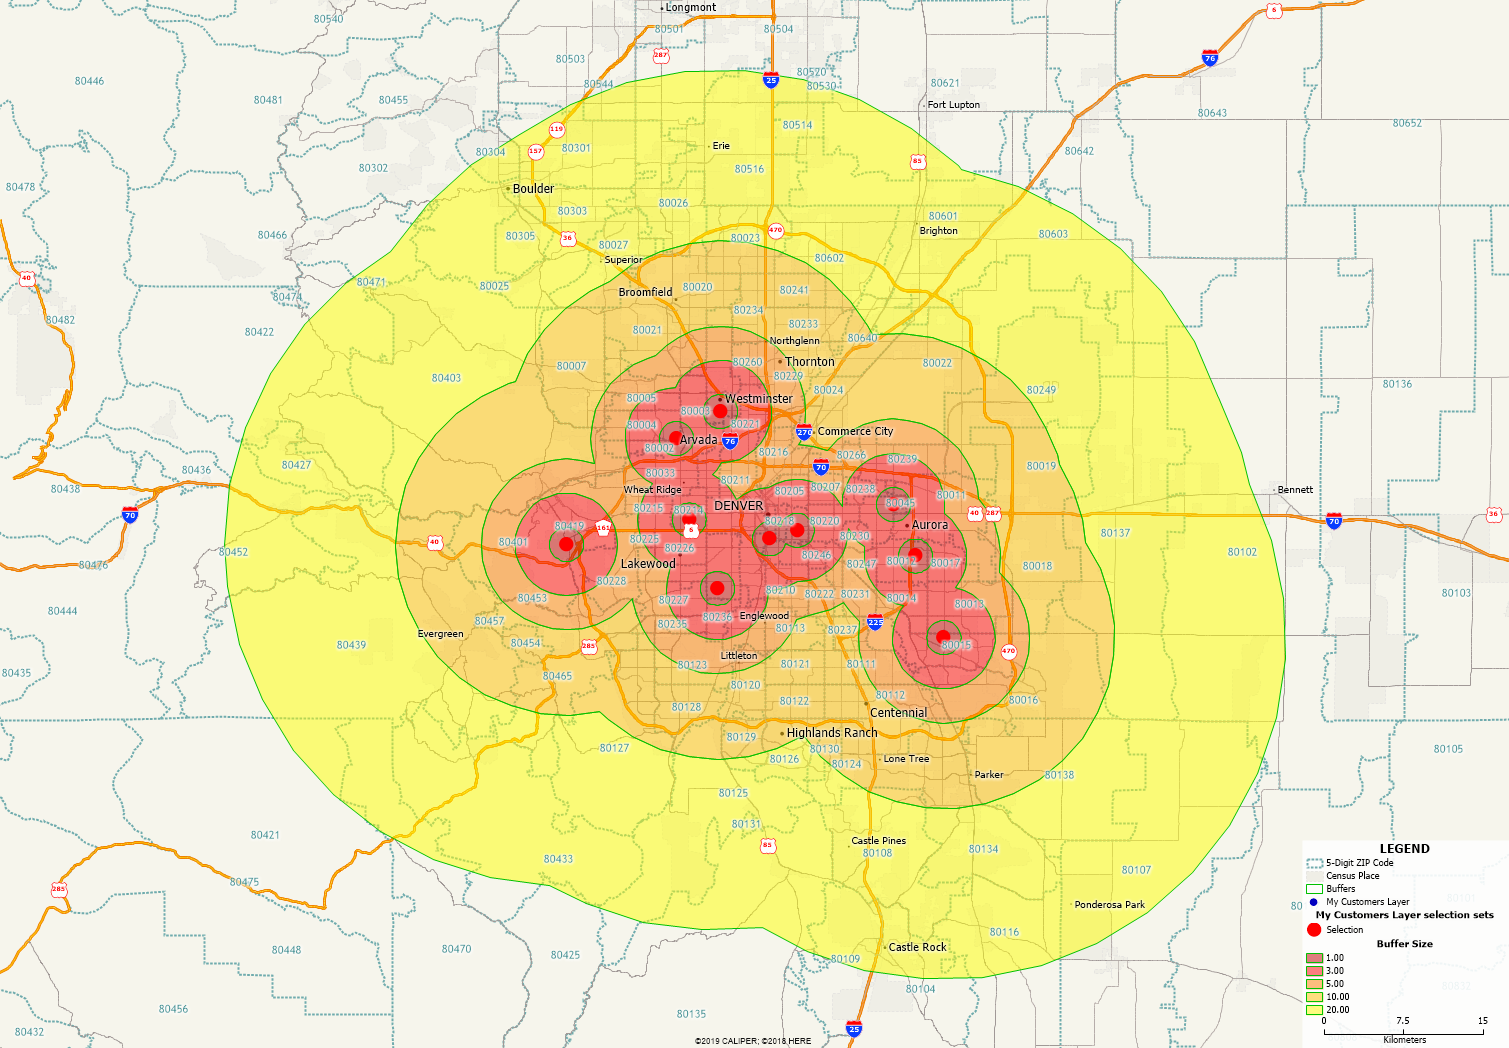
| Buffers | ||
 |
||
| “What is the population within 10 miles of my stores?” |
