Last Updated: September 7, 2023
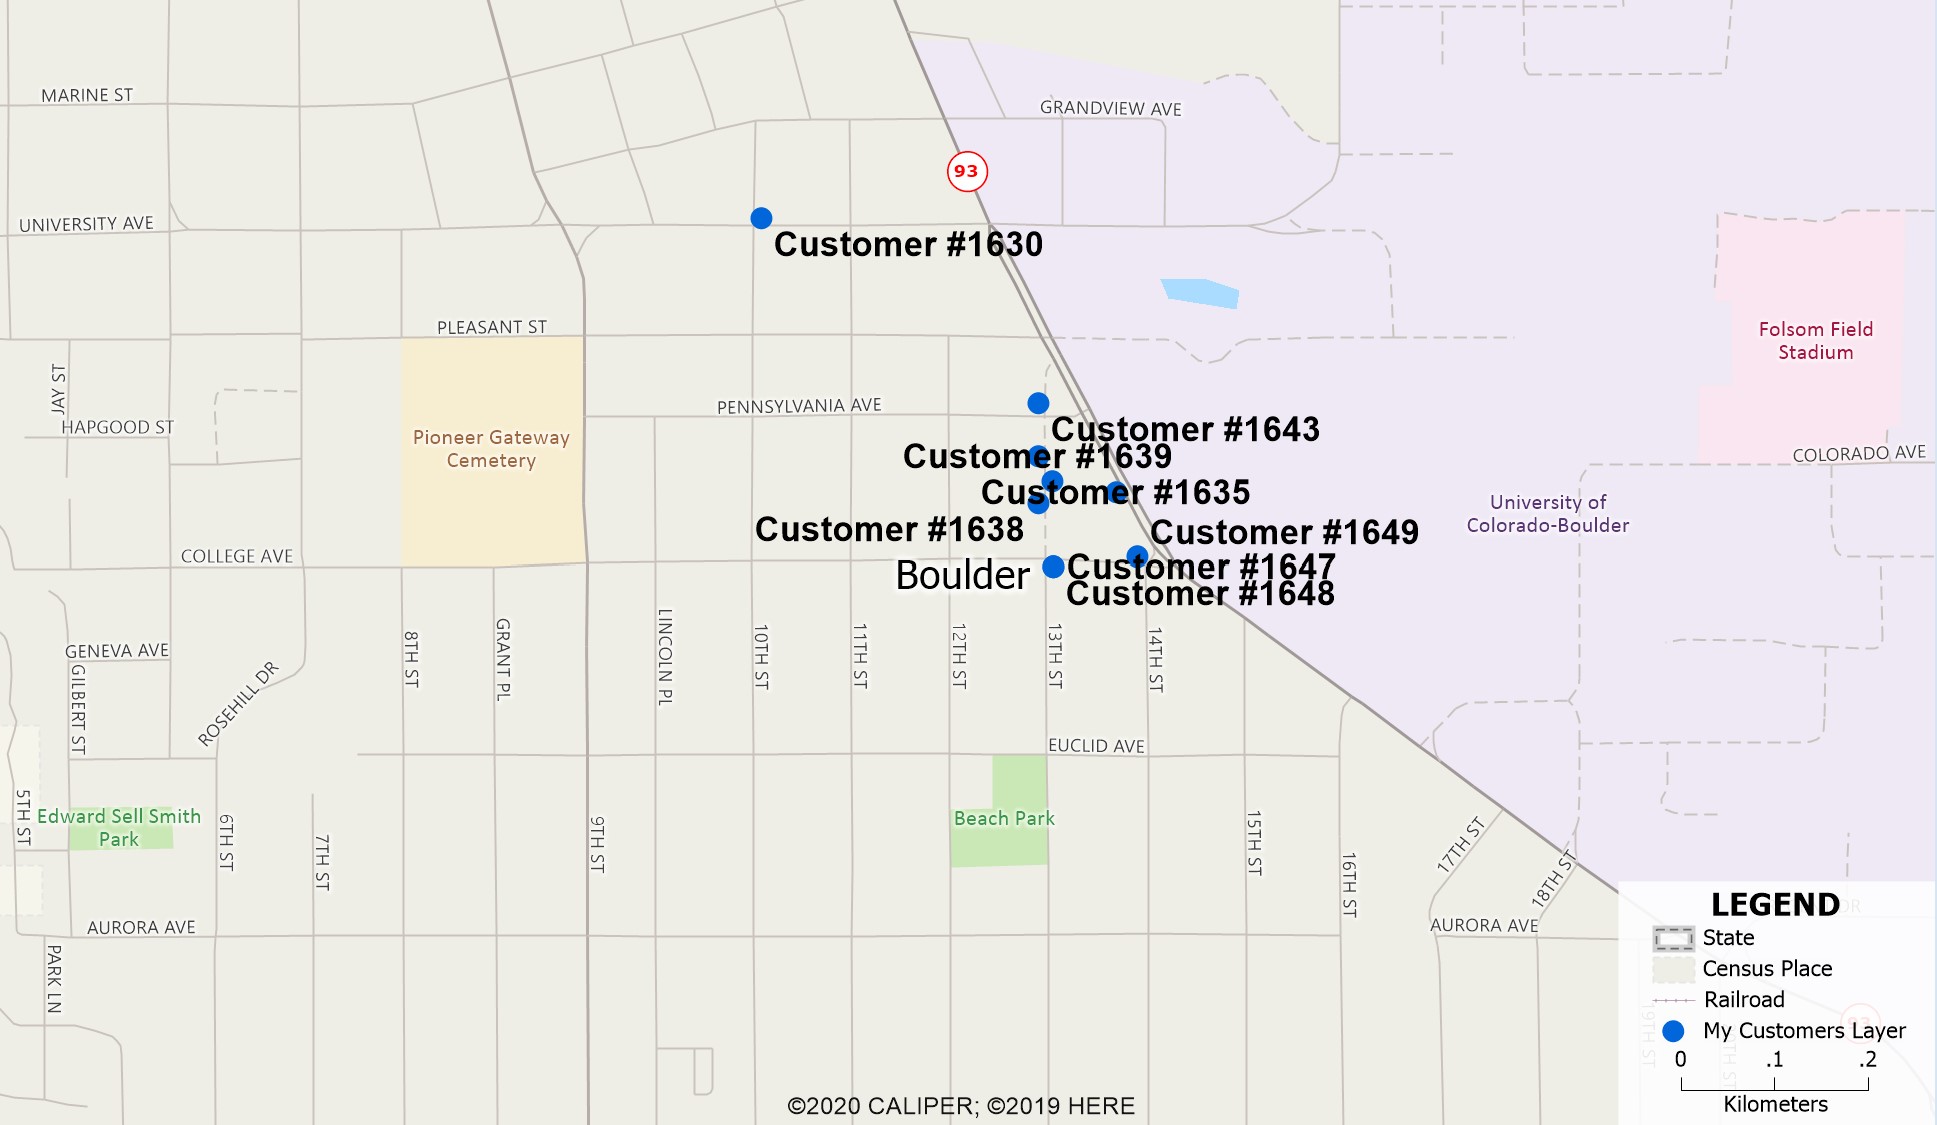
In some instances, you may have multiple points at a single location that you want to label. Having the labels occupy the same space can make your map cluttered and hard to read.
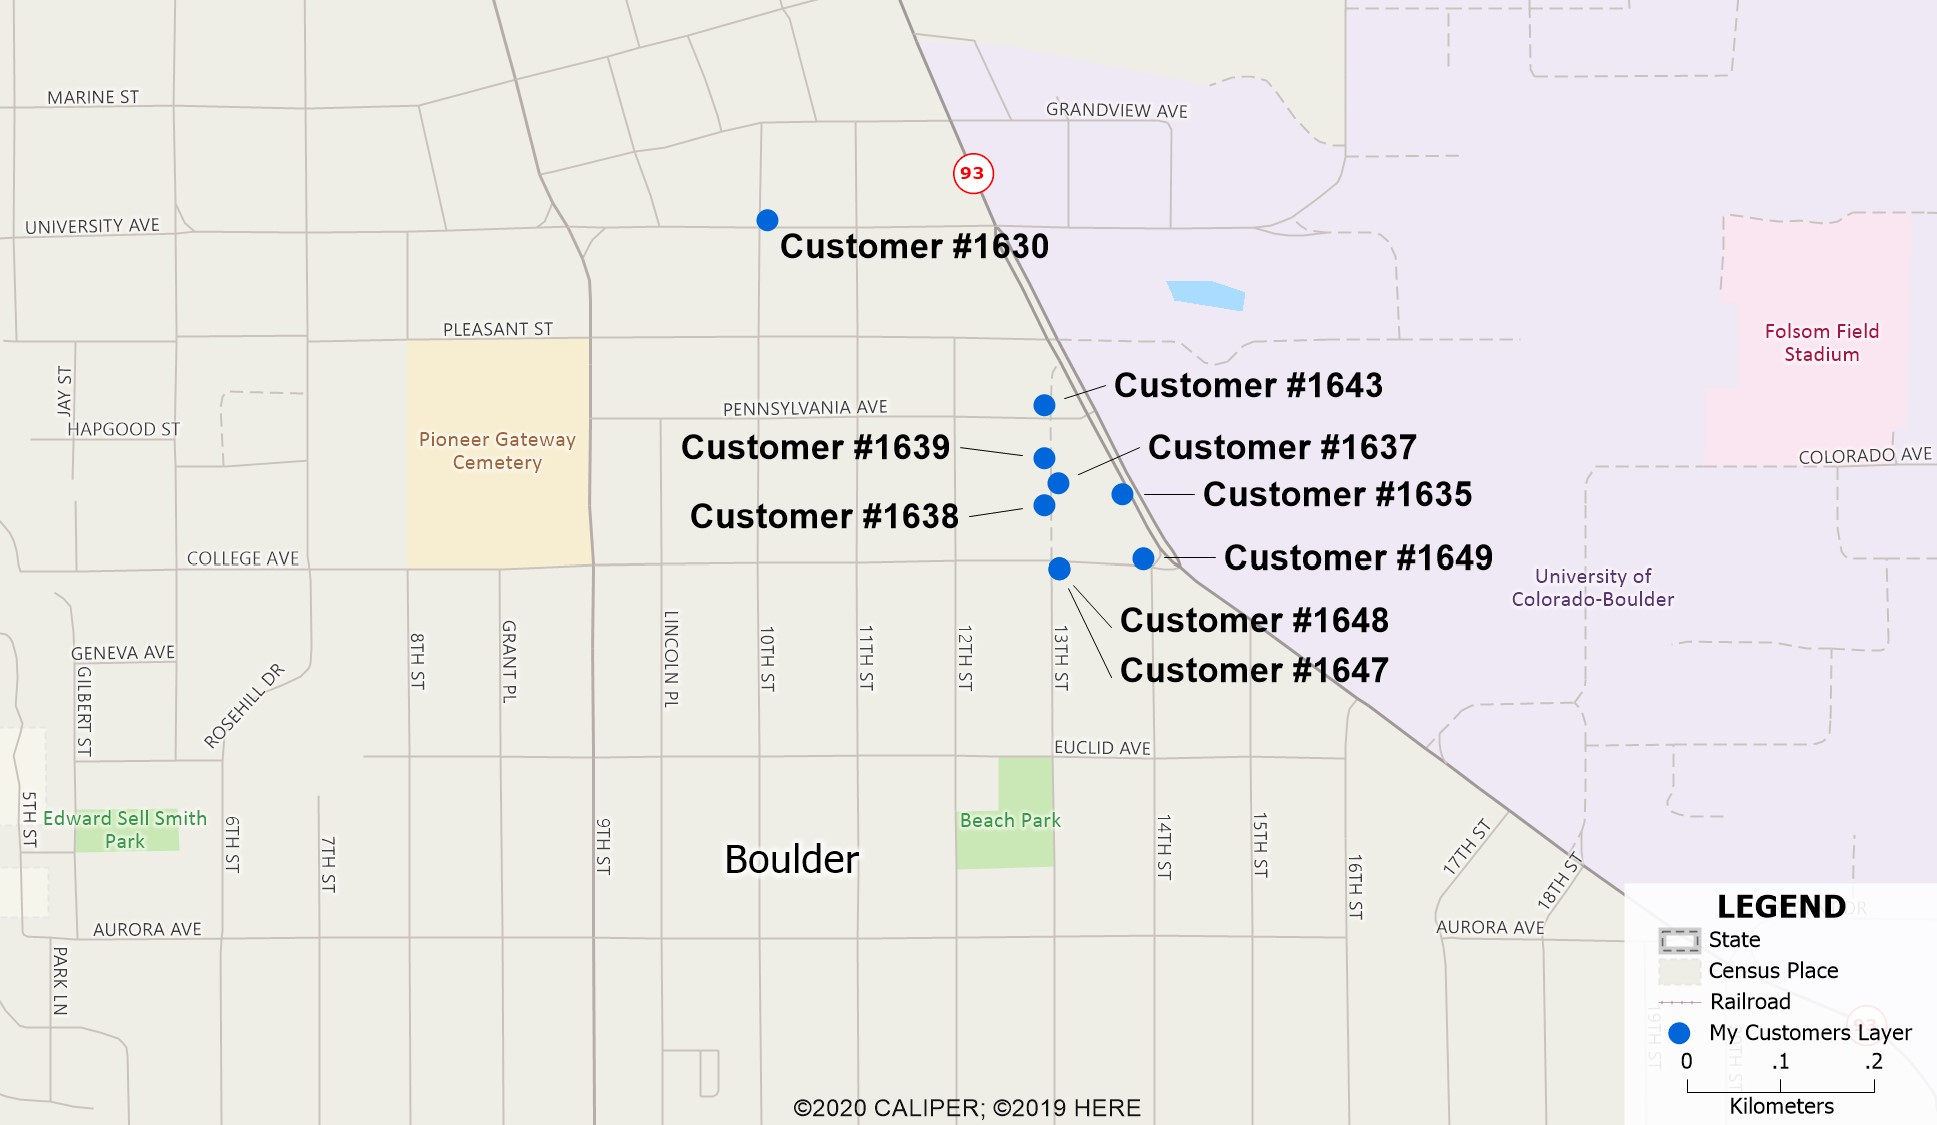
However, you can use label callouts (sometimes called leader lines) to label multiple coincident points and make it clear which label is attached to which object.
This article will show how you can use callouts to label overlapping or nearby points without cluttering your map.
Drawing your Label Callouts:
- In the Display Manager, click
 next to the layer with the labels that you want to show. Choose the field you want displayed from the Field dropdown and click OK to show your labels.
 - Click
 in the Tools Toolbar.
 - Click the label you want to add a callout to and drag it to the location you want it.
- In the Display Manager, click
 next to the layer with your labels. Click the Callouts tab to change the style, width, and color of your callout lines.
- If you want to style one callout line differently, right-click on that label and choose Customize Style. You can make changes in the Callouts tab.
- If you want to style one callout line differently, right-click on that label and choose Customize Style. You can make changes in the Callouts tab.
- (optional) If you don’t like where you put your callout or you didn’t want to add a callout to a particular label, right-click the label and choose Restore Default Location.
- If you want to reset all your callouts, go Map>Labels>Undo Label Customizations. This will put all your labels back to where they started.
