Last Updated: March 18, 2025
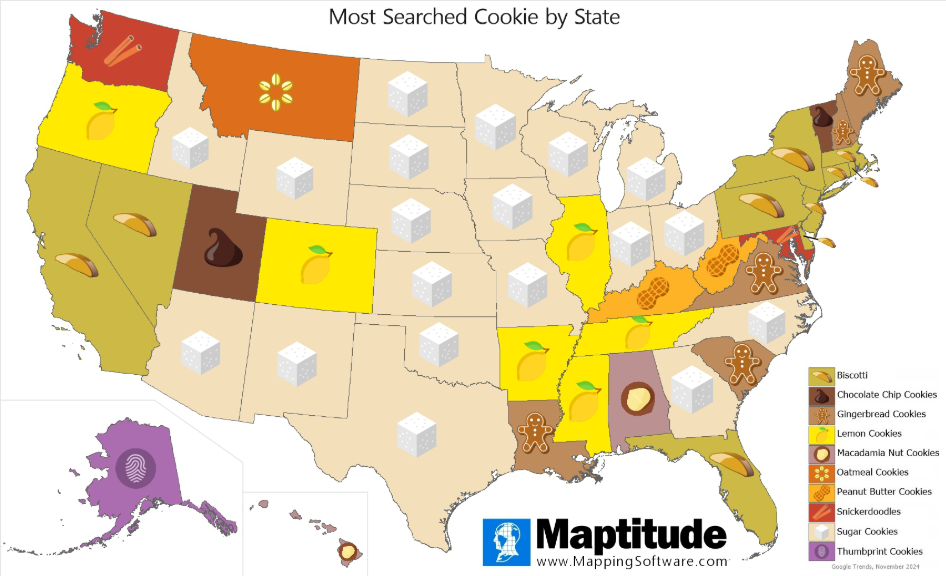
You can add images to any area features in your map using mapping software. In this guide, we will explore how to create sets of centroids for each area feature and create custom icons for each set.
- Download and install a free trial of Maptitude mapping software, or use your own license of desktop Maptitude.
- Start with New map of United States (or whatever country you are using) to create a general purpose map for your area of interest.
- Select the area layer of choice and toggle on the centroid points for its selection set.

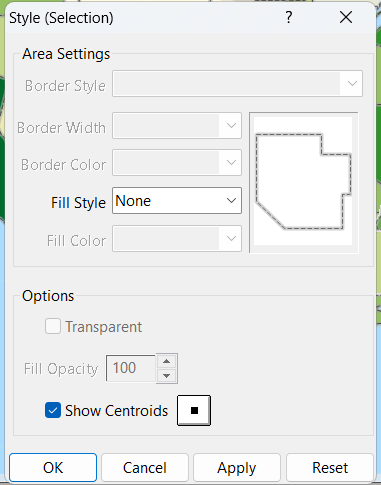
Selection Set style menu. - Click on the dot next to the Show Centroids radio button to bring up the Centroid Symbol menu.

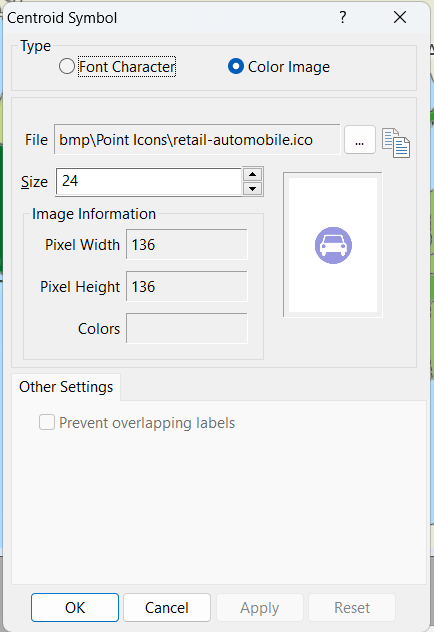
Centroid Symbol menu. - In the Color Image tab, you can choose the desired icon for your area feature and also adjust its size. Confirm with OK.
- To set specific area features to the selected icon, you can use the Selection Toolbar to add the features of your choice to your selection set.
- If you require different icons for different sets of features, you can add a new selection set and repeat Steps 2-5.

You can also further customize your maps by using image fill styles to change the background of an area feature to an image of choice or creating a glow map from an area layer.
