Last Updated: March 5, 2025
The info tool in Maptitude allows you to look at records from a layer based on their position in the map. This article goes over how to find the closest point to a location, and how to find all points within a certain radius.
To follow along with this article, first download and install a free trial of Maptitude mapping software, or use your own license of desktop Maptitude. I will be using the US Post Office layer from the free Points of Interest download, but you can use either your own data, or a different layer from the free datasets.
Find your location
- Open a map containing the layer you want to search from
- Go to Edit>Find or click

- Type in the address for the location you searching around
- Check Mark with and choose an icon
- Click OK
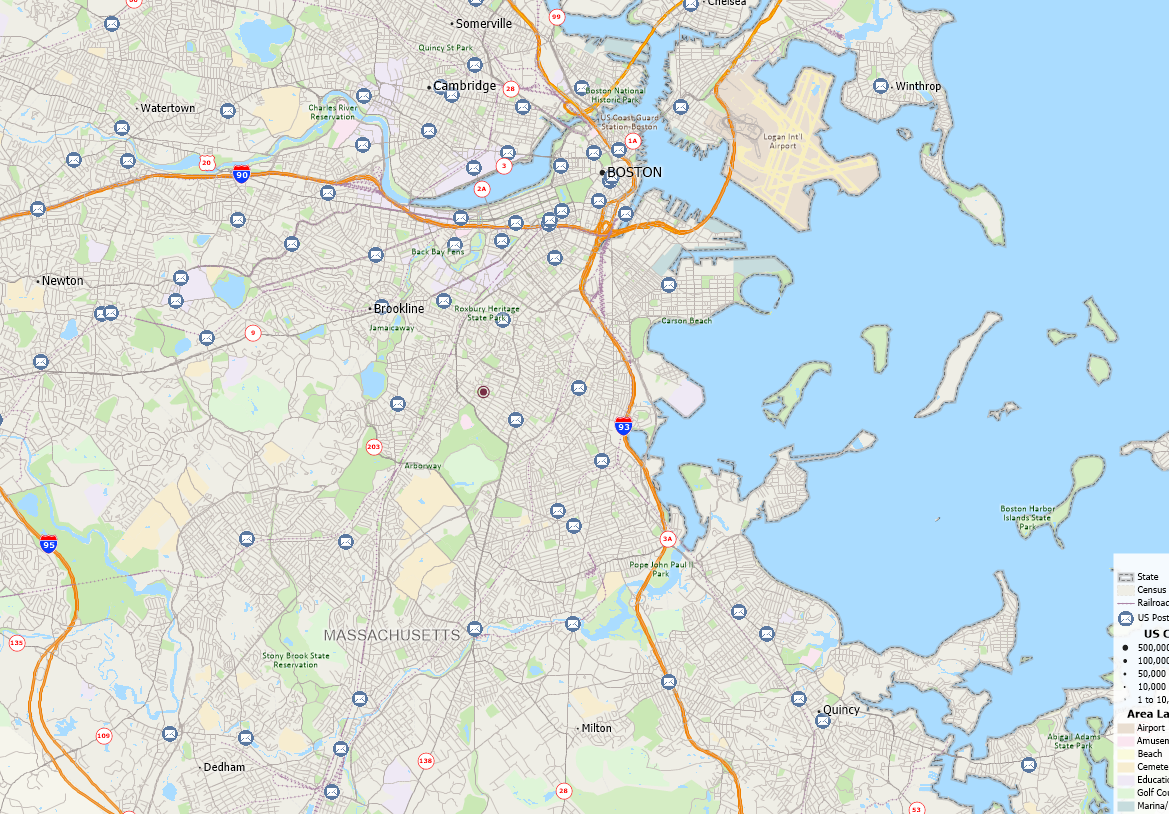
This will zoom the map to the searched location and mark it with the icon. Now you can either find the closest feature from the US Post Office layer or all features in a given radius.

To find the closest location
- Make US Post Office the working layer
- Click on the Info Tool
 in the Navigation Toolbar
 - Click on your marked location
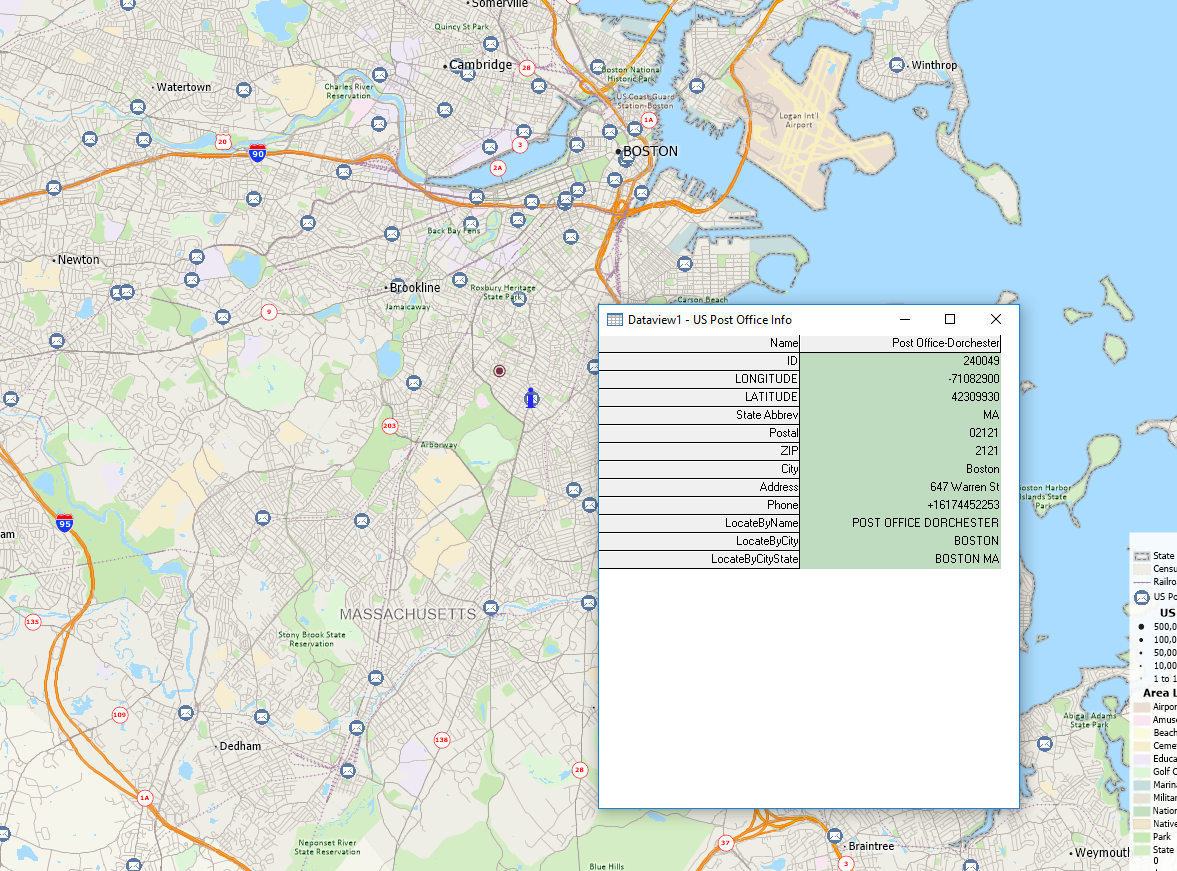
The closest feature to where you clicked will be highlighted with a blue “i” and the information for this record will be brought up in a separate window:

To Find locations in a given radius
- Click on the Freehand Radius
 tool from the Drawing Toolbar
 - Click on your marked location and enter a radius (e.g. 5 miles)
- To get the list of features from the US Post Office layer inside the radius in Excel, use the Export to Excel feature
- To get the list of features from the US Post Office layer as a window in Maptitude:
- Make US Post Office the working layer by right-clicking on it in the Display Manager and choosing Make Working Layer
- Click on the Info Tool
 in the Navigation Toolbar
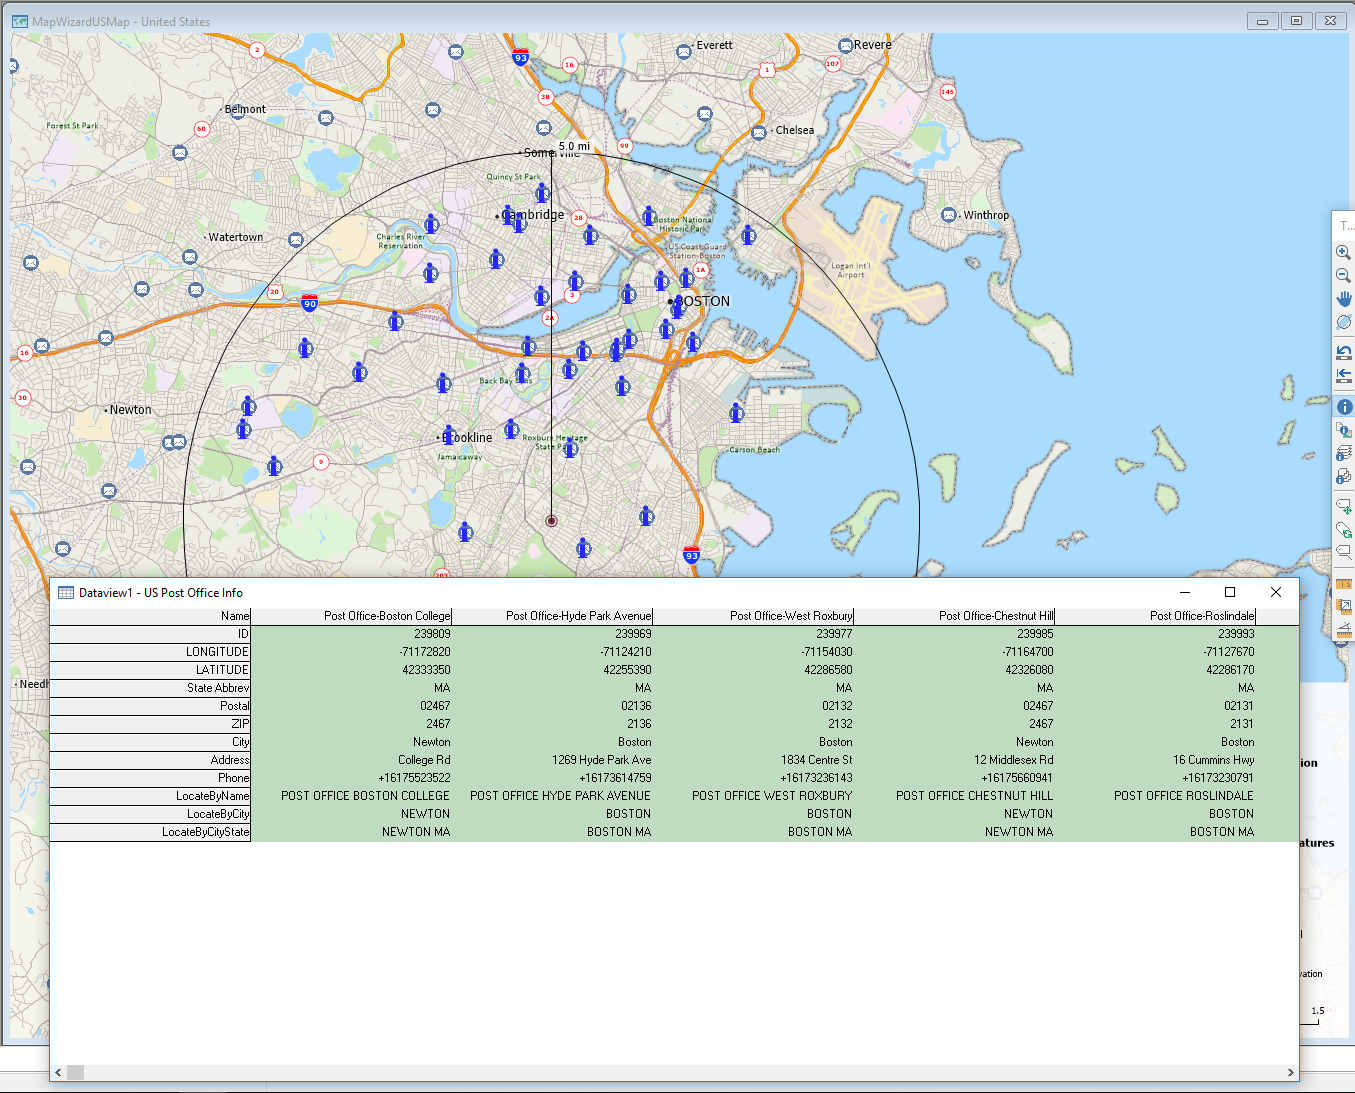
 - Click and drag from your marked location to the width of the drawn radius. A dotted circle should appear and grow as you drag
All the features in that radius will be highlighted with a blue “i” and the information for all these records will be opened in a separate window:

